Last time
I showed you some lighting examples in dark situations. Today I will show you more
lighting skills in bright locations. Never think that you have enough light. You
will always lose light. But sometimes only reflectors will provide you enough
lights during day time. Also, you can provide extra lighting, mount your camera
on a tripod and use a longer exposure, or paint with light
(leave the shutter of a tripod-mounted camera open in a time exposure
while you illuminate the subject with repeated
electronic flash bursts, a flashlight, or some other light source).
Now it’s
time to see our examples. One of them is taken at night but there are a lot of
street lights. Others are taken in day time.
============================================================
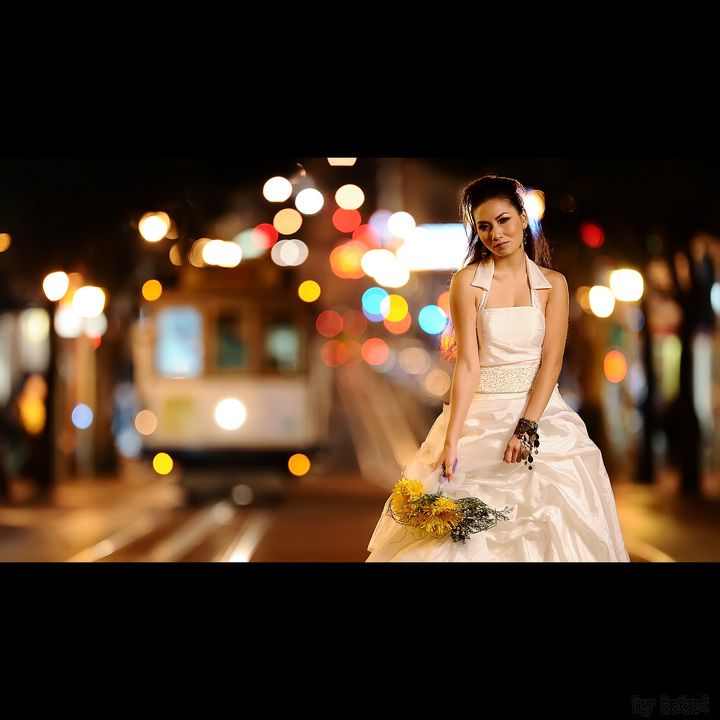
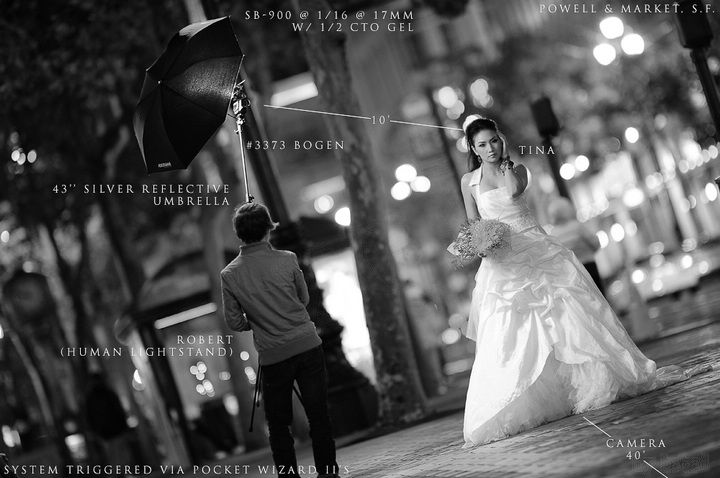
In this
photo, the photographer set a flash light that oppose to the model. As I said
before, if the light is straightly to the model’s face, there will be no shadow
on her face. In case to make the light softer, the photographer put a silver umbrella
reflector in front of the light. Light falloff can be used to vary the
relationship between the light on your subject and your background. If you
place a light close to your subject, the falloff from the subject to the
background will be more pronounced. Move the light farther from your subject,
and the background will be relatively brighter. Since the lights on the street
and cable car are bright enough to hold the background, we set the light a
little bit closer to our model. The same holds true for side lighting: With a
light close to the side of your subject, the falloff of light across the frame
will be more pronounced than if the light is farther away.
==========================================================
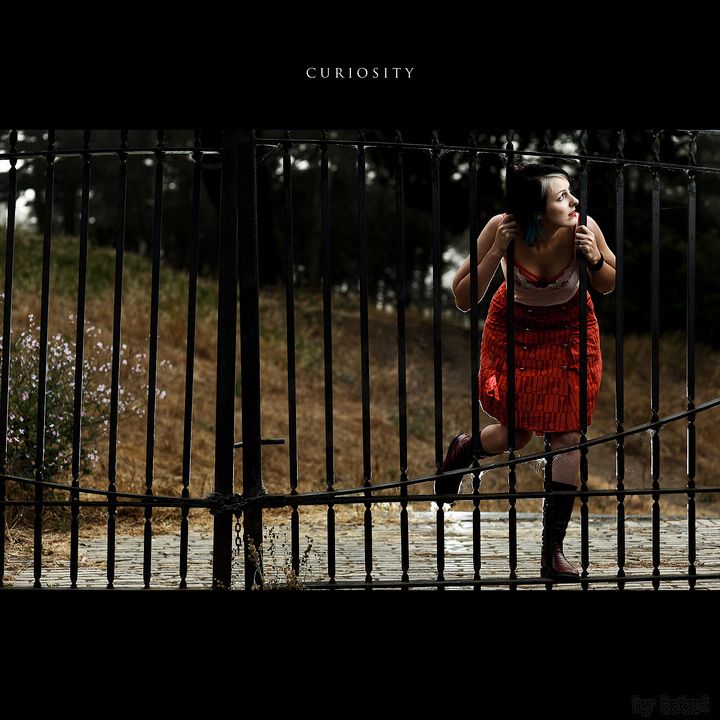
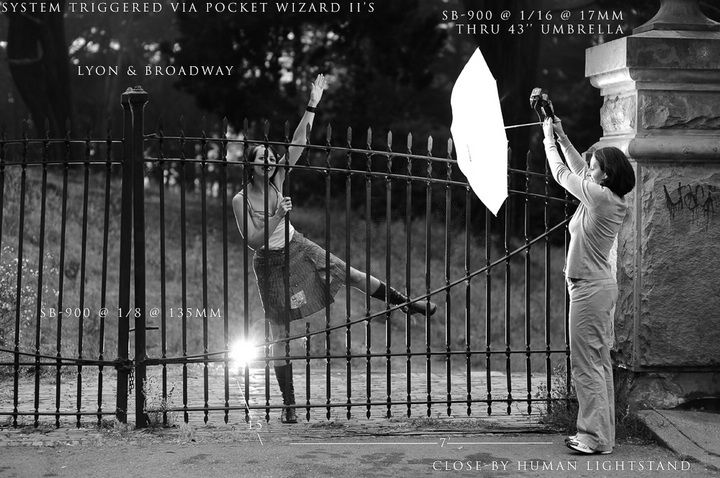
This
photo was taken at dusk. But we already lose lots of natural light. The
photographer set a light with diffuser in the left front of the model. Diffusion
scatters light, essentially making the light source broader and therefore
softer. When clouds drift in front of the sun, shadows get less distinct.
Add fog, and the shadows disappear. In the nature, clouds, overcast skies, and
fog act as diffusion—something that scatters the light in many directions. In
case to show the background, the photographer also set a 135mm flash light
behind the model.
===========================================================
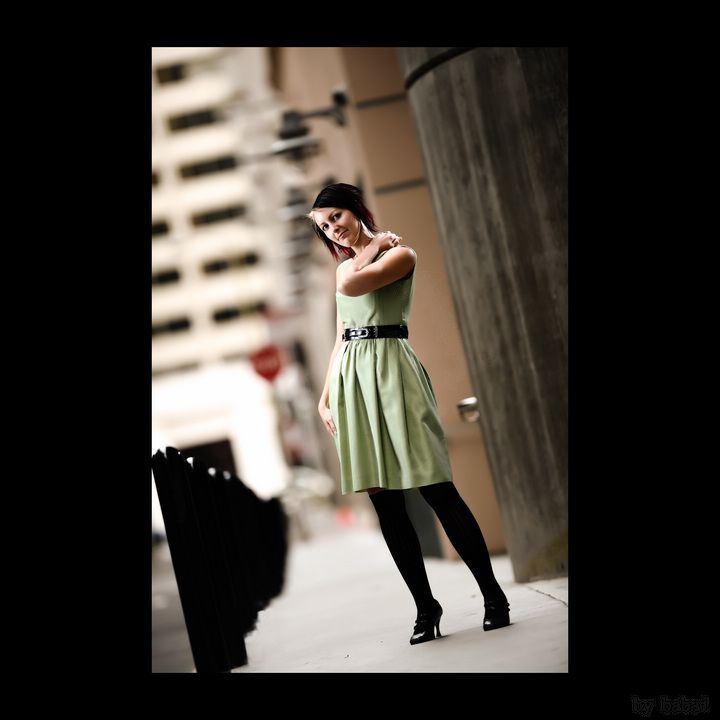
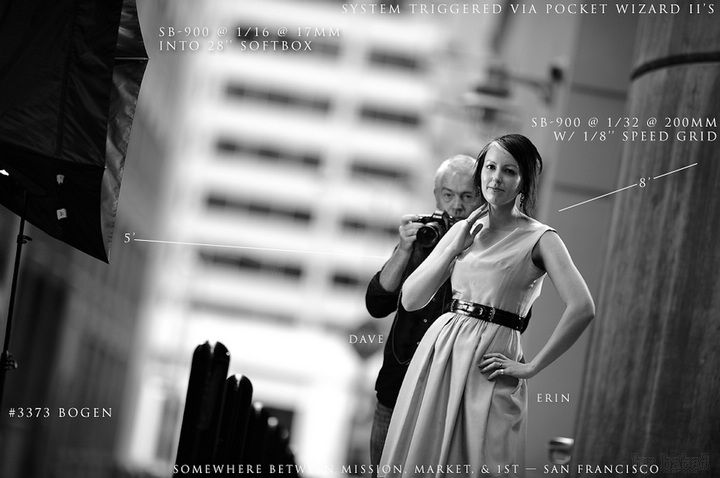
This photo
was taken between two buildings. The environment is bright, but when you shoot
her you will find that she looks flat. So we have to set a light with silver
reflector umbrella in the right front of our model. Front lighting
de-emphasizes texture; lighting from the side, above, or below emphasizes it. A
portraitist may want to keep the light source close to the axis of the lens to
suppress skin wrinkles, while a landscapist may want side lighting to emphasize
the texture of rocks, sand, and foliage. Generally, the greater the angle
at which the light is positioned to the subject, the more texture is revealed.
So,
today I’ve shown you three more ways to set your lights when taking photos during
daytime. Please have a try by yourselves. I hope you will have pretty photos(●′ω`●).

No comments:
Post a Comment