Sunday, November 24, 2013

Cosplay Facts-20131122


I have shown you cosplay makeups, photography skills, and photos, but I didn’t tell you the history of cosplay. Today I will tell you some history and facts of cosplay. 

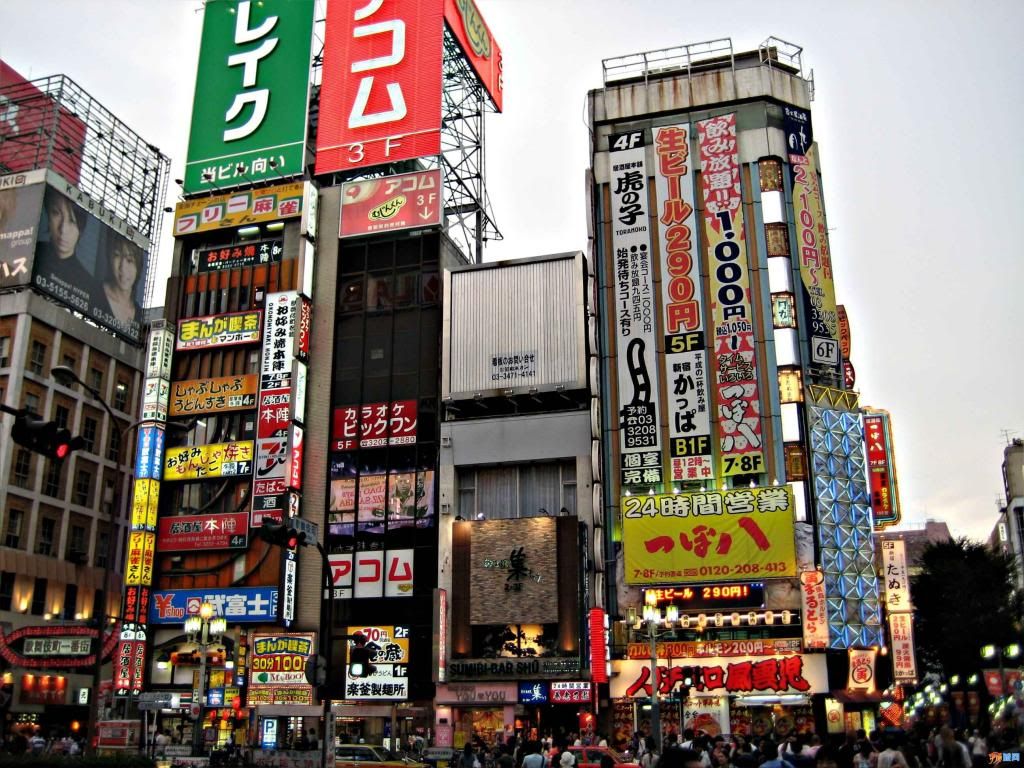
Cosplay culture has originated in japan, since it is one of the most developed places for manga and anime. The estimated yearly economic impact is 230 trillion YEN. Thousands of manga and animations are published each year. Cosplayers do cosplay for those manga and animations. In japan, tons of people put away their shyness only when they dress up. Then the cosplay phenomenon spread to China, America and Europe.


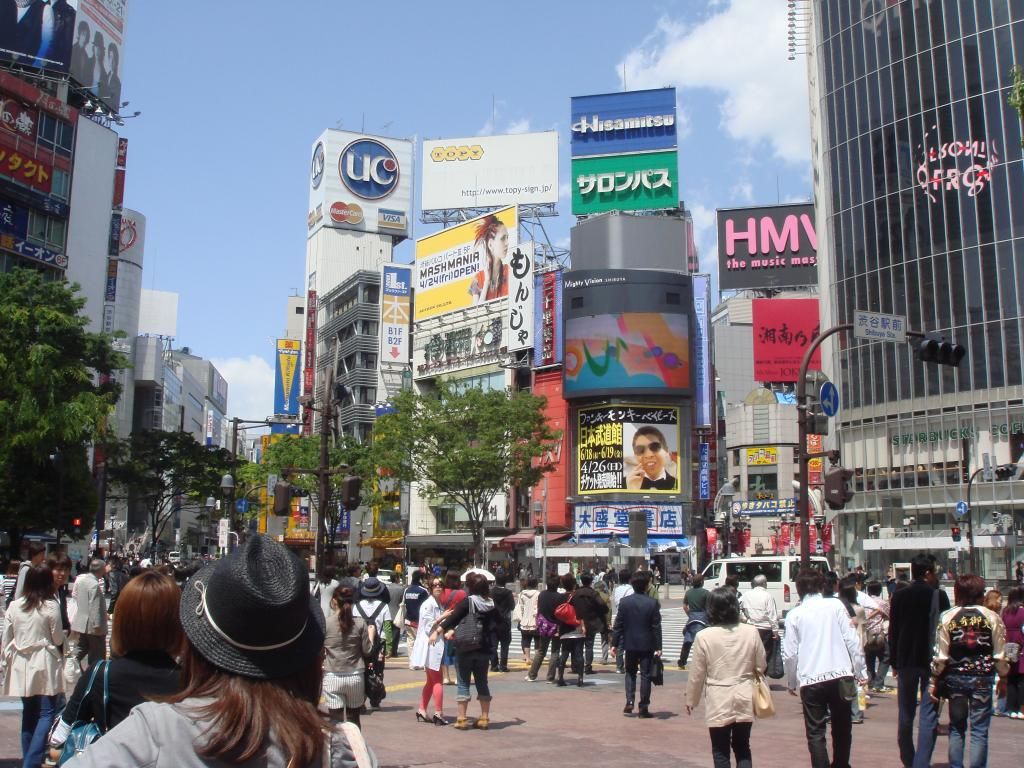
Let us explore further, cosplay in its basic form was here even before Christ. The Greeks performed cosplay when they were doing sacrifices. They dressed up as their gods and pretended that they had godlike powers.

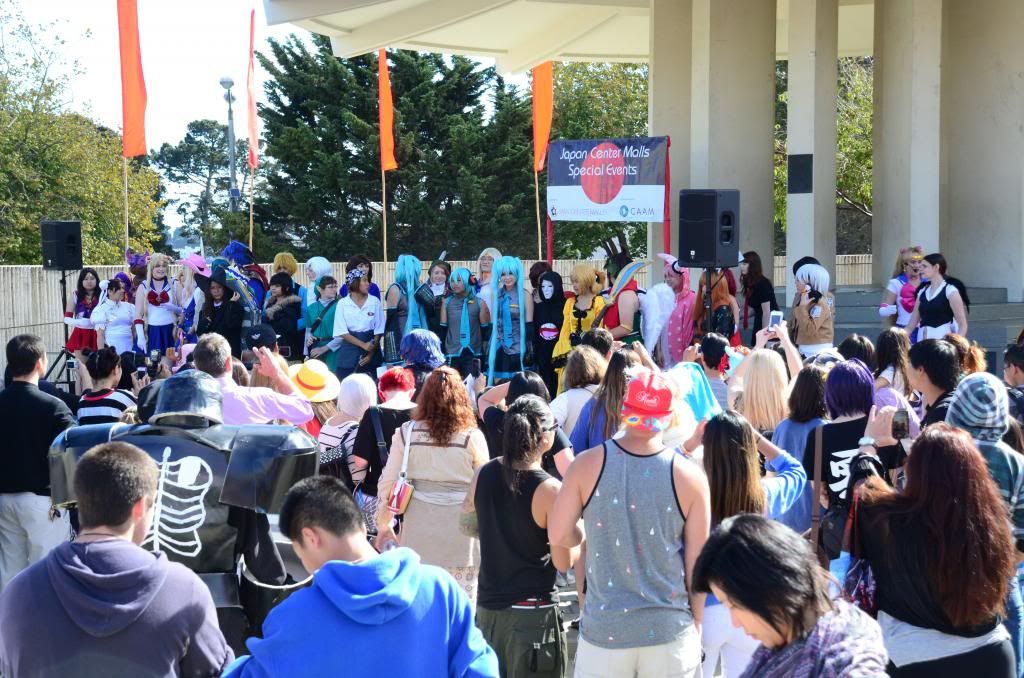
Cosplay culture became a solid part of pop culture throughout the recent couple of years. We can find Cosplayers in the comic conventions and in all kinds of cosplay events. Nowadays there are more than 46 big conventions and about 100 small ones happening all around the world every year. And the number is growing by each year.

In United States, the greatest convention is San Diego’s comic-con. In its premiere in august 1970, there were only 145 attendees. Today, the number of attendees is 136,000. The attendance of New York comic convention was around 33,000 people in 2006. But in 2013, the number of attendees has jumped to 133,000.


Currently are 14 big comic conventions in United States 
every year. 

On the other hand, cosplay became a pop culture not only because people notice cosplay more, but also it is a great way to be entertained and relaxed. When people dress in costumes, they pretend that they are characters from fictional worlds. This is how people can get rid of pressure and stress for a while.

Do you have a favorite fictional character? Do you still have a wonderland dream? Maybe it is time for you to do some cosplay now. So whom are you dressing up as?


Sunday, November 3, 2013

Cosplay Class-20131103


Last time I showed you some lighting examples in dark situations. Today I will show you more lighting skills in bright locations. Never think that you have enough light. You will always lose light. But sometimes only reflectors will provide you enough lights during day time. Also, you can provide extra lighting, mount your camera on a tripod and use a longer exposure, or paint with light (leave the shutter of a tripod-mounted camera open in a time exposure while you illuminate the subject with repeated electronic flash bursts, a flashlight, or some other light source).

Now it’s time to see our examples. One of them is taken at night but there are a lot of street lights. Others are taken in day time.  

============================================================


In this photo, the photographer set a flash light that oppose to the model. As I said before, if the light is straightly to the model’s face, there will be no shadow on her face. In case to make the light softer, the photographer put a silver umbrella reflector in front of the light. Light falloff can be used to vary the relationship between the light on your subject and your background. If you place a light close to your subject, the falloff from the subject to the background will be more pronounced. Move the light farther from your subject, and the background will be relatively brighter. Since the lights on the street and cable car are bright enough to hold the background, we set the light a little bit closer to our model. The same holds true for side lighting: With a light close to the side of your subject, the falloff of light across the frame will be more pronounced than if the light is farther away.


==========================================================


This photo was taken at dusk. But we already lose lots of natural light. The photographer set a light with diffuser in the left front of the model. Diffusion scatters light, essentially making the light source broader and therefore softer. When clouds drift in front of the sun, shadows get less distinct. Add fog, and the shadows disappear. In the nature, clouds, overcast skies, and fog act as diffusion—something that scatters the light in many directions. In case to show the background, the photographer also set a 135mm flash light behind the model.


===========================================================


This photo was taken between two buildings. The environment is bright, but when you shoot her you will find that she looks flat. So we have to set a light with silver reflector umbrella in the right front of our model. Front lighting de-emphasizes texture; lighting from the side, above, or below emphasizes it. A portraitist may want to keep the light source close to the axis of the lens to suppress skin wrinkles, while a landscapist may want side lighting to emphasize the texture of rocks, sand, and foliage. Generally, the greater the angle at which the light is positioned to the subject, the more texture is revealed.


So, today I’ve shown you three more ways to set your lights when taking photos during daytime. Please have a try by yourselves. I hope you will have pretty photos(●′ω`).

Cosplay Sharing-20131101


Today I have the honor to interview a famous Cosplay photographer Bunny Tuan.
http://bunnytuan.deviantart.com/ this is her deviant art site. She posts her works here.


Cosplayer: Moji    Photographer: Bunny Tuan

Q: What drives you to do Cosplay photography?
A: I’m a cosplayer. At the early time when my friends and I did cosplay, we don’t have professional photographer. That’s why I decided to learn photography. My mother has a photography studio, so I ask her to teach me. At first, I just shoot my friends. They posted the photos online and people saw them. They asked who the photographer is, and my friends introduce me to others. Since that, more and more people ask me to shoot them.

Q: How long have you been doing this?
A: I started from my first year in college. That was 7 years ago.

Q: So you’ve been keeping doing this for all those years?
A: Yes. I cannot count how many cosplayers I’ve been worked with.

Q: Could you tell me something happened that really touched you?
A: Let me think. I remember that 2 months ago, a cosplayer from Oakland contacted me and ask me to take pictures for him. He said that was his first time doing cosplay. He felt so nervous. I told him to relax and be himself. Before shooting, he read the comic book again and again. He also practiced posing for days. I think for most people, cosplay is just a hobby and not so serious. But this guy worked very hard.


Q: How was cosplay photography changed you?
A: I was a shy person, really. After I become a cosplay photographer, I went to conventions or comic fairs to meet new people. I forced myself to communicate with others. Doing this makes me more open.

Q: What’s the largest benefit of doing this?
A: I’m not making money by doing this. First I think doing cosplay photography let me make a lot of new friends. Second it is my hobby, doing this gives me a rest from daily hard works. 

Sunday, October 20, 2013

Cosplay Class-20131018

Let me start this with a question, “What do you see first when you’re looking at someone?” I guess the answer is EYES for most people, not include some male(= ̄ω ̄=). That’s why in Cosplay makeups, eye makeups are the most important. 
The characters from comics and animations have a common feature – big eyes. Their eyes are much bigger than us in the real world. Let’s do a quick tutorial first.


Starting with a clean eye and wear your contacts. Normally I don’t suggest contacts bigger than Φ14mm because they might hurt your eyes. And then use concealer to lightly cover the brows. The fictional characters always have thin and beautiful brows. 
Remember using powder to set the tone after concealer layer. Now choose a color brow pencil – the color will depend on your character – to draw the brows. Please do not follow where your natural brow goes. Now it’s time to “reproduce” your eyes. Using eye shadow primer before everything starts. In case your face don’t look like a flat board, use some colors that we called them “the ground tone” – because they are brown colors that are two or three tone darker than your face, and look like the ground. 
You need to shade the nose bridge and darken the crease with ground tone color. This will create a deep sunken eyelid, which looks like the western people. That will make your face deeper. Please keep the eyeshadow in the shape of flat straight. 
Tapping on any bright color on the lids will emphasize your eyes. Now it’s time to line your eyes. You should slightly create a wing liner. Also line the bottom waterline half-way. If you want to make your eyes look bigger, you might use a white or skin tone pencil. If you want your eyes look strong and powerful, try a black liner pencil. The second last step is put on false lashes. Sometimes the false lashes will stretch your eyes and make you look great. 
Finally, depends on your character, use different colors of eye shadow to lightly dust along your bottom eyelid. 


That’s all for what I always do eye makeup for cosplay. I know you will always have a better idea. If you have seen other great tutorial, please feel free to write them done or paste the links below. I will be really appreciate.

Saturday, October 19, 2013

Cosplay Class-20131011

Today I will show you some lighting skills. A good light setting can upgrade your photos, specifically when you are doing Cosplay photography. You can provide extra lighting, mount your camera on a tripod and use a longer exposure, or paint with light (leave the shutter of a tripod-mounted camera open in a time exposure while you illuminate the subject with repeated electronic flash bursts, a flashlight, or some other light source). 


Let’s see some examples. Most of the example photos were taken at night. There’s no natural light anymore, you have to use extra lights to build the scene. 


=======================================================================


In this photo, the photographer set a flash light that oppose to the model. If the light is straightly to the model’s face, there will be no shadow on his face. In case to make the light softer, the photographer put a silver umbrella reflector in front of the light. Also there are some traffic lights and street lights to brighten the background. 


=======================================================================


This photo was taken at dusk. The higher background (the sky) is still bright but the lower background (the city) is dark. The photographer set a light with diffuser in the left front of the model. The broader the light source, the softer the light. The narrower the source, the harder the light. A broad light source lessens shadows, reduces contrast, and suppresses texture. A narrow light source does the opposite. This is because, with a broad source, light rays hit your subject from more directions, which tends to fill in shadows and give more even illumination to the scene. 


=======================================================================


This beautiful bride’s photo only used a small light. But she still looked soft and bright. Like the first example, the photographer uses a oppose flash light and a silver reflective umbrella. That’s because the closer the light source, the softer the light; the farther the source, the harder the light. This stands to reason: Move a light closer, and you make it bigger—that is, broader—in relation to your model. Move it farther away, and you make it relatively smaller and therefore narrower.


So, today I’ve shown you three ways to set your lights when taking photos in a dark place. Next time, I’ll give you some examples in a brighter scene! See you(●′ω`●)!

Sunday, October 6, 2013

Cosplay Event-20130929


Today we have this amazing event in Japan town. It’s J-pop (Japanese popular culture) and Anime Fair 2013! There are many cosplayers. Later in the afternoon, there will be a competition. The organizer invites three professional judges. They will choose the best cosplayer today!

Let’s go to wonderland!


Sunday, September 29, 2013

Cosplay Class-20130926


Today I’m going to teach you how to take care of your wig. Wig is made of synthetic materials. It’s thinner than human hair. It‘s always a mess.


It’s necessary to learn how to take care of wigs. Let’s see this picture first. This is a 1M long wig for Hatsune Miku.


Step 1:

Set it still. Use your hand to comb the wig from the bottom to the top. Take your time, because it’s hard to make it smooth once.


Step 2:

Use a brush to comb the wig. Also start from the bottom to the top.


Step 3:

Use your hair straightener. Do not choose a temperature over 200°F. Now start from the very top to the end.


Step 4: 

You have a straight wig now. But it’s not smooth enough. Let’s get some warm water(95°F). Squeeze hair conditioner in the water. Put your wig in the water for 30mins. Take it out and repeat Step 2 again.


Step 5:

Open-air dry it.


Creative Commons License
Alfacosplay by http://alfacosplay.blogspot.com is licensed under a Creative Commons Attribution-NonCommercial-ShareAlike 4.0 International License.